
Maaaaaaaaaaaaaaaaaoooooooowwwwwwww!
Have you ever been outside your home for a couple of days? Don’t you have someone that can feed your pet during your absence? Or have you ever wanted to automatize the feeding of your pet?
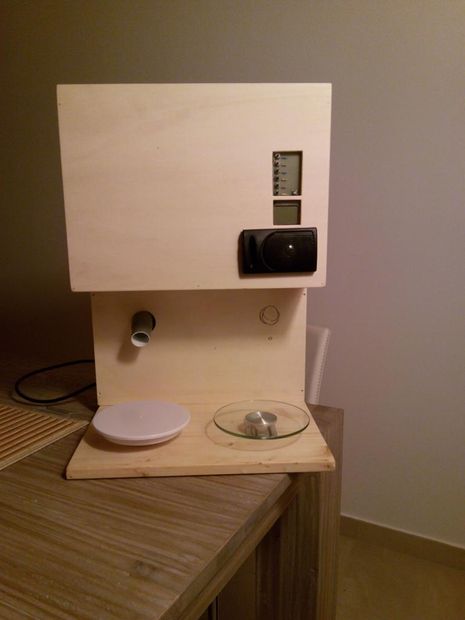
CROCCOLINO FEEDER is the answer.
I built this project as a little challenge and as funny hobby. Obviously my cat Spritz is always with me.
I won’t let him stay more than few hours without me (unfortunatelly I cannot take him with me at work).
So I made this little automatic feeder to let him feel more comfortable and at full stomach also if I’m not at home.
Main features:
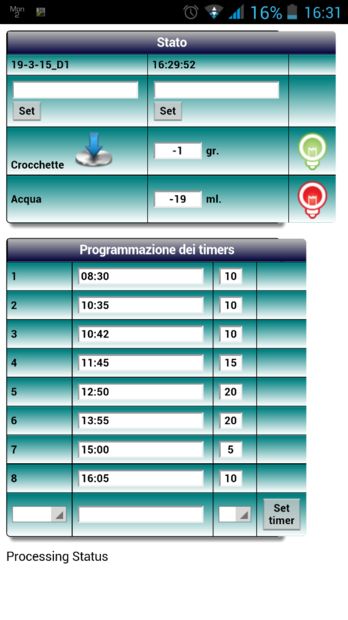
– Up to 8 daily scheduled feeds
– Choose food quantity for every feed
– Keep water at level
– Internal clock (DS1307)
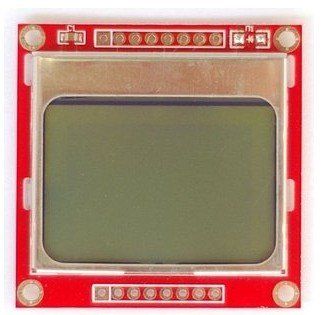
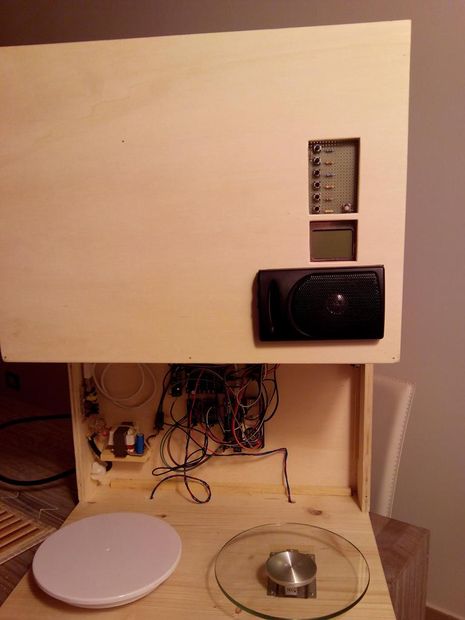
– Functional (nokia 5110) Display (it shows the digital scales about water and dry food level in the bowl).
– Buttons panel to adjust time and feed scheduling, and display scale
– Record your voice and call your pet when it’s time to eat
– Amplified speaker
– WIFI and controlled over internet (it has an integrated web server)
– Surely I missed some other feature 😀
NEXT:
– Webcam
– Soft balls shooter
Materials
- An arduino YUN
- a microsd to store the administration webpage (the smalest you have is good)
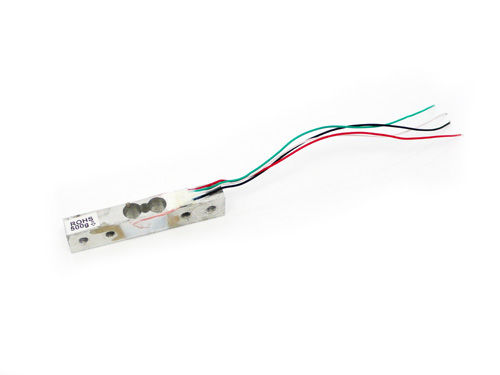
- two recycled scales or two weight cells
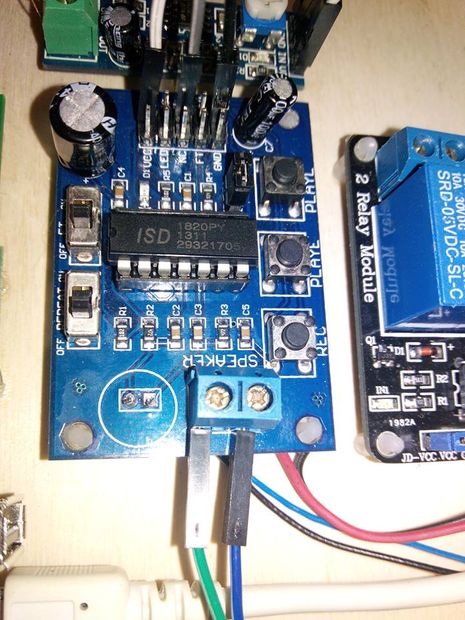
- SD1820 audio play/recording module
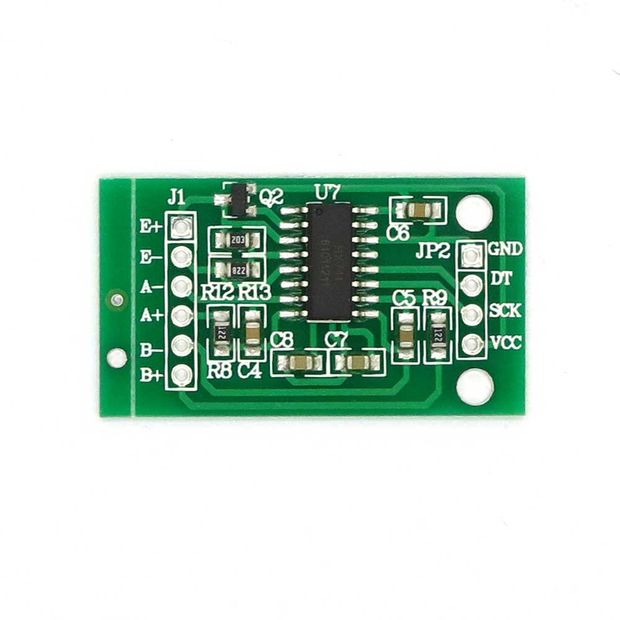
- HX711 WEIGHING SENSOR MODULE
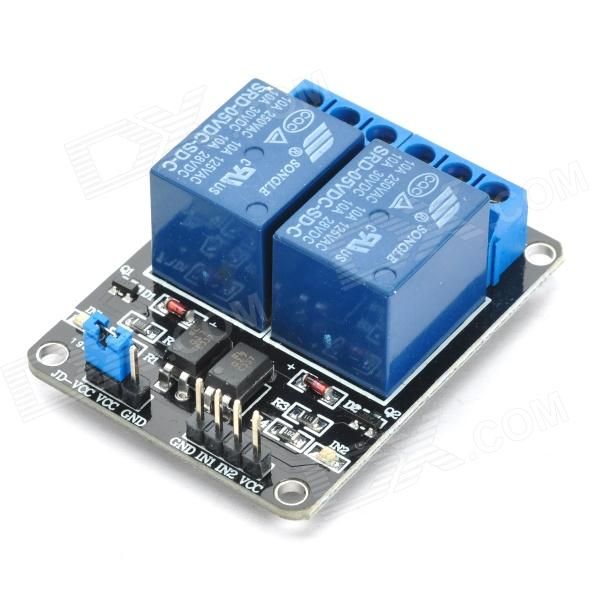
- 5v Relay module
- 9v stepper motor with driver
- 9v mini water pump
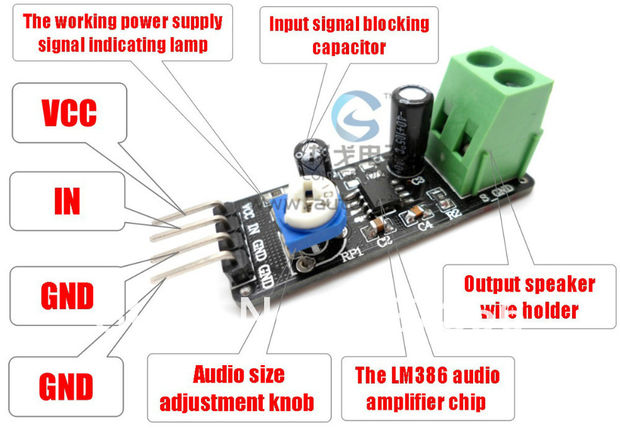
- LM386 amplifier module (optional) and little 1/2W 8ohm speaker
- 7 microbuttons and 6 resistences of different values (5k, 20k, 50k, 74k, 100k, 120k)
- Lots of spare cables M-M and M-F
- a 220V-12v power supply (for stepper and audio amplifier)
- a 220V-5v power supply (arduino yun and hx711 scale driver)
- a piece of prototipe copper board
- plywood and some spare fillets.
- A bit of fantasy
I found almost everything on ebay, for few $$. I was lucky to find an used YUN for only 20$.
You should contain the total cost within 100$ or less.
ds1820 HX711-master
HX711-master
Connect everything

There are many ways to connect everything together.
Maybe it could be a bit messy at the start, but, just solve one problem at time. Basically think at the whole structure as blocks.
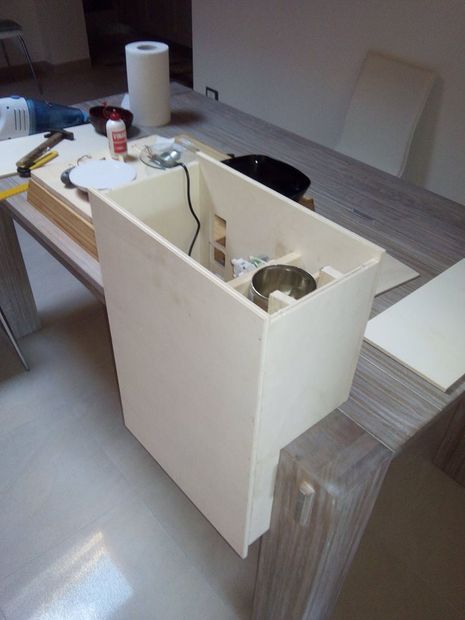
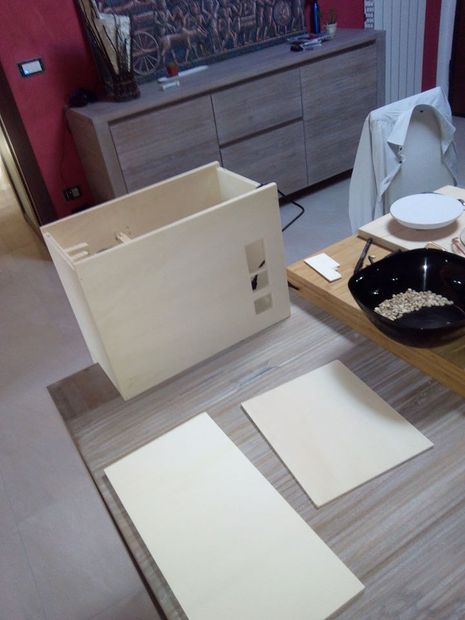
- First you have to build up the structure with plywood. All the drawings are in attachment.
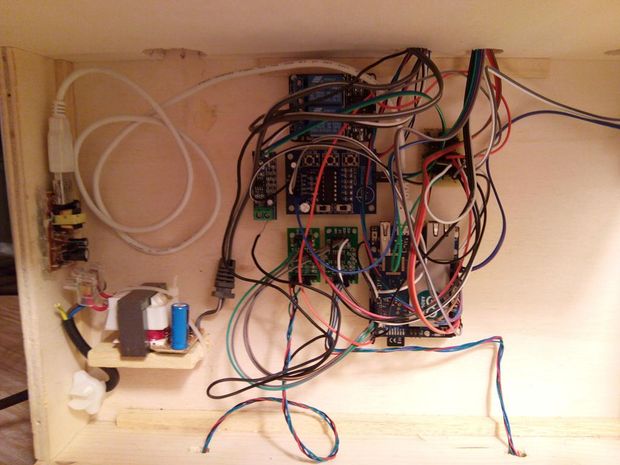
- Then place the power supply into the structure. Keep in mind that 220v could kill you, so, instead of partial disassembly the power supply as in my project, consider to use a multi plug adapter, and place it inside the structure. then connect the power supplies. This keep safe your project.
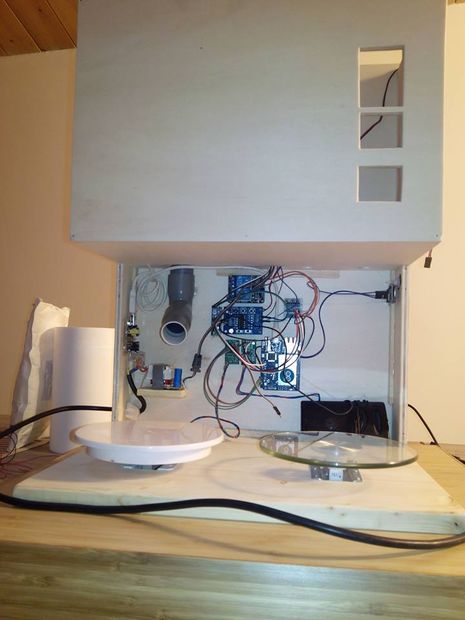
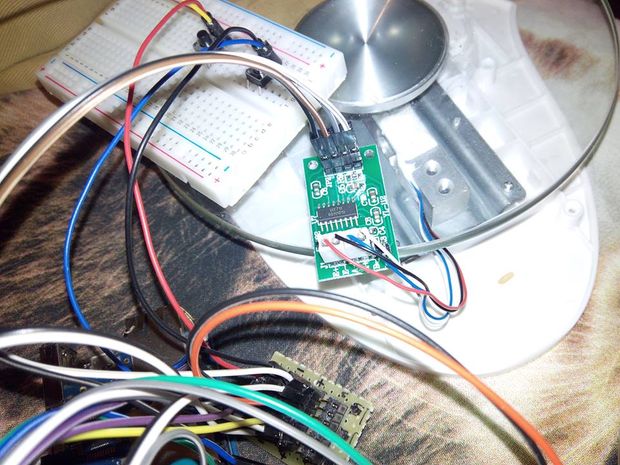
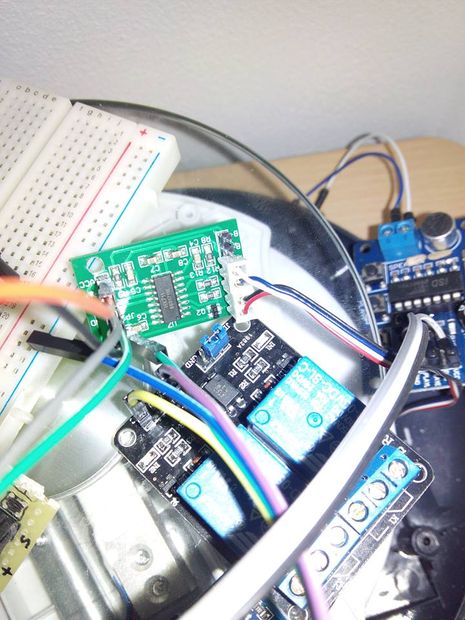
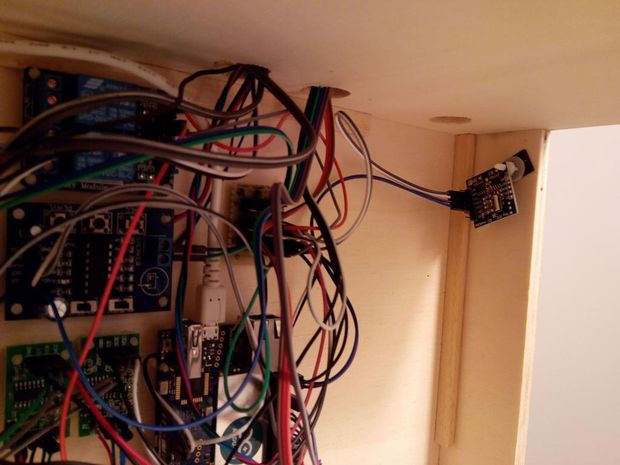
- Place the electronic pieces into the structure, you will connnect all the wires later (wiring instructions in the next steps).
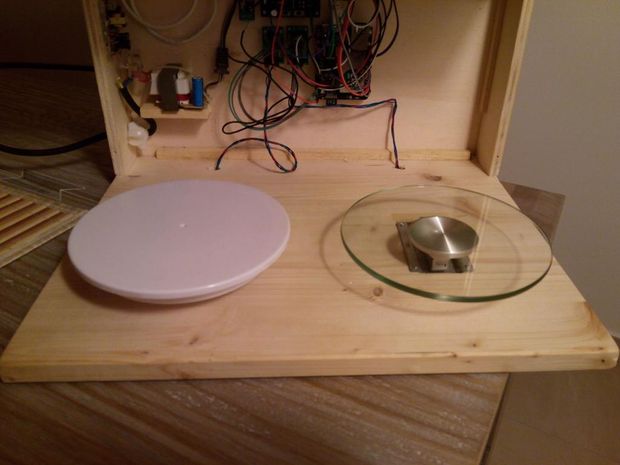
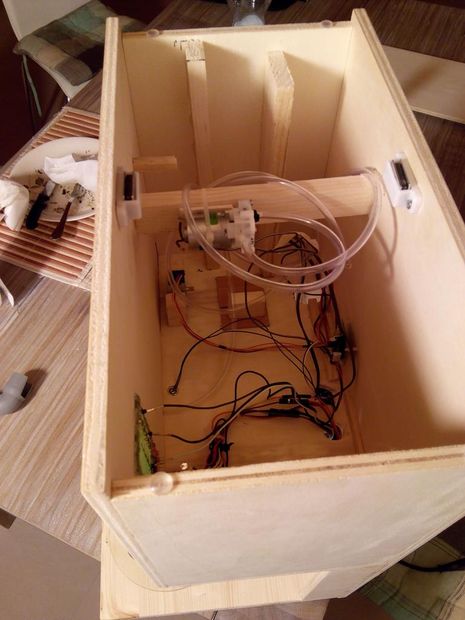
- Place the two load cells on the base and connect them to the two hx711 drivers. (pinout declared in the beginning section of the source code. see next steps). I carved the lower side of the base to wire up the cells and connect them to the Yun. Use some pieces of Velcro to appoint the bowl to the load cells, so your pet won’t be able to mess everything.
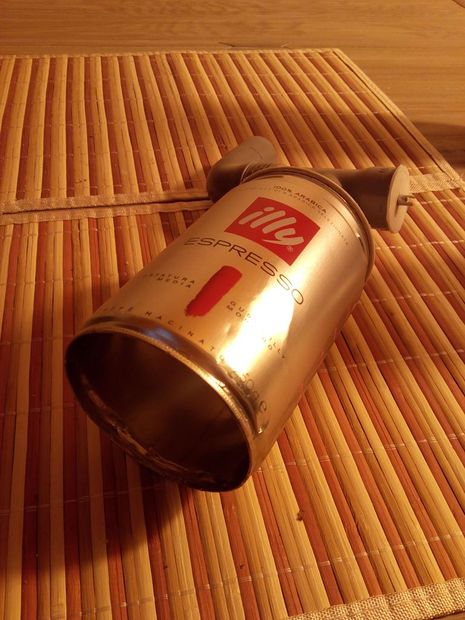
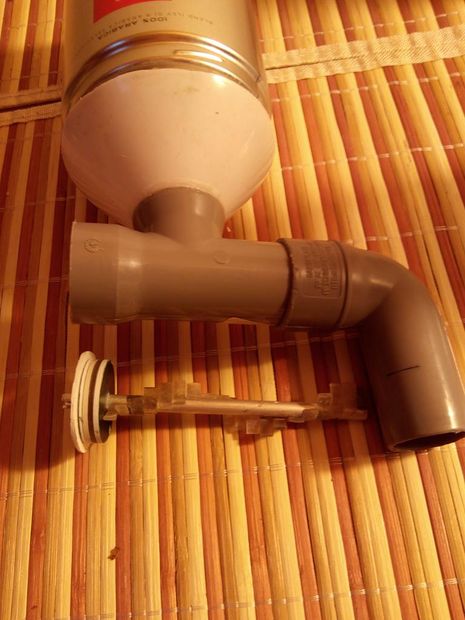
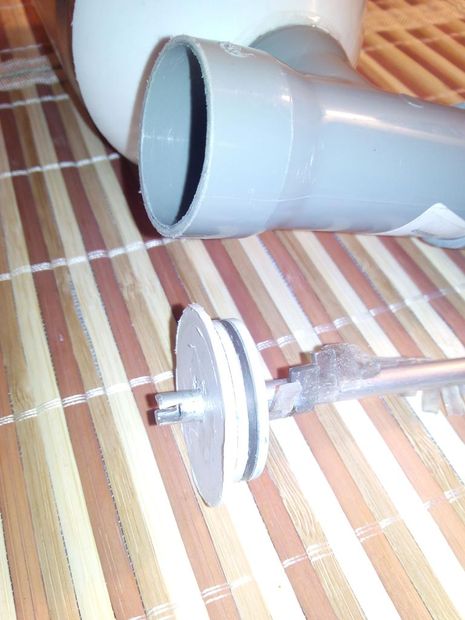
- then build the hopper. I used an old coffee can and a funnel, and some pvc pipes. the most difficult part is to build the elycoidal screw. I used a piece of alluminium and plastic piece glued, forming the helyx. use a pipe 1.25″ (3cm) or more, to let the dry food flow without problems. If the section is not enough the food will stuck into the pipe. If you have a 3d printer you are the boss. you can build up a wonderful elycoidal screw.
- Place the water pump somewhere into the structure. Place also a cutted bottle into the box, as water reserve. You will use the water pump to suck the water from the bottle.
A saucerful of messy wires
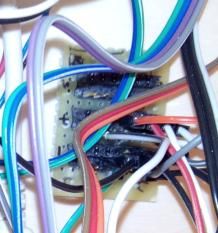
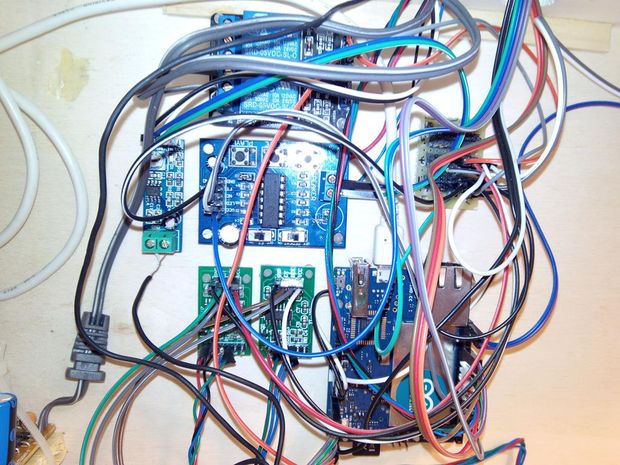
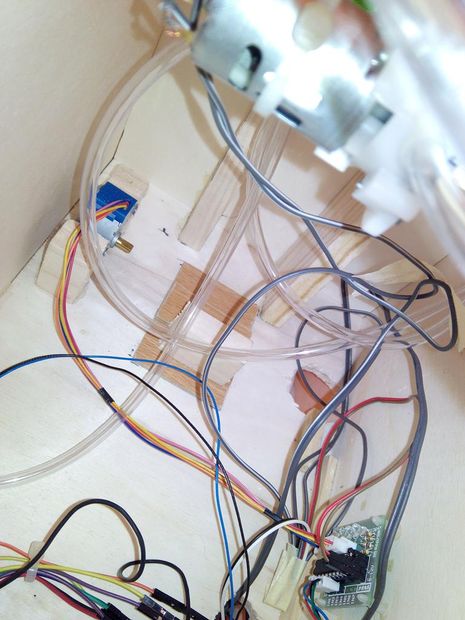
All the wiring scheme are included into the source code header.
Substantially, you will work with 2 voltages:
9v for the water pump, LM386 and ds1820
5v to power up the Yun, the relay shield, the display, and keep warning that any voltage more of 5v will fry your YUN.
I made a small stripboard to group all the 5v power and star ground (see pic). It makes the connections simple.
Arduino code
Now it’s time to compile the arduino code.
This is the heart of the project. If everything works is thanks to this code. I tried to keep it simple and readeable. All the connections pinout are on the top of the code. II tried also to insert readeable comments in the code, if you want to modify something.
So take the timer_gatto.ino attached file and compile it with arduino.
You have also to take the other file, and unzip it into the sdcard. Keep in mind that you have to create the following path in the SD x:\arduino\www\ (where x is the sdcard letter) Once you have configured your arduino YUN you will access the Croccolino by the following path:http://xxx.xxx.xxx.xxx/arduino/www/index.htm (where xxxx is the YUN ip address).
documents-export-2015-03-19
timer_gatto18
Fantasy is the key
Maybe it could be a long project, and you maybe have to be a little experienced in diy, arduino and electronics,
but believe me, this is my second “big messy project”, and I was not so experienced when I started.
You increase your experience in big challenges, you will study, you will learn, you will solve problems, you will project, you will improve yourself.
Just try!